


DIY brushed/matte finish

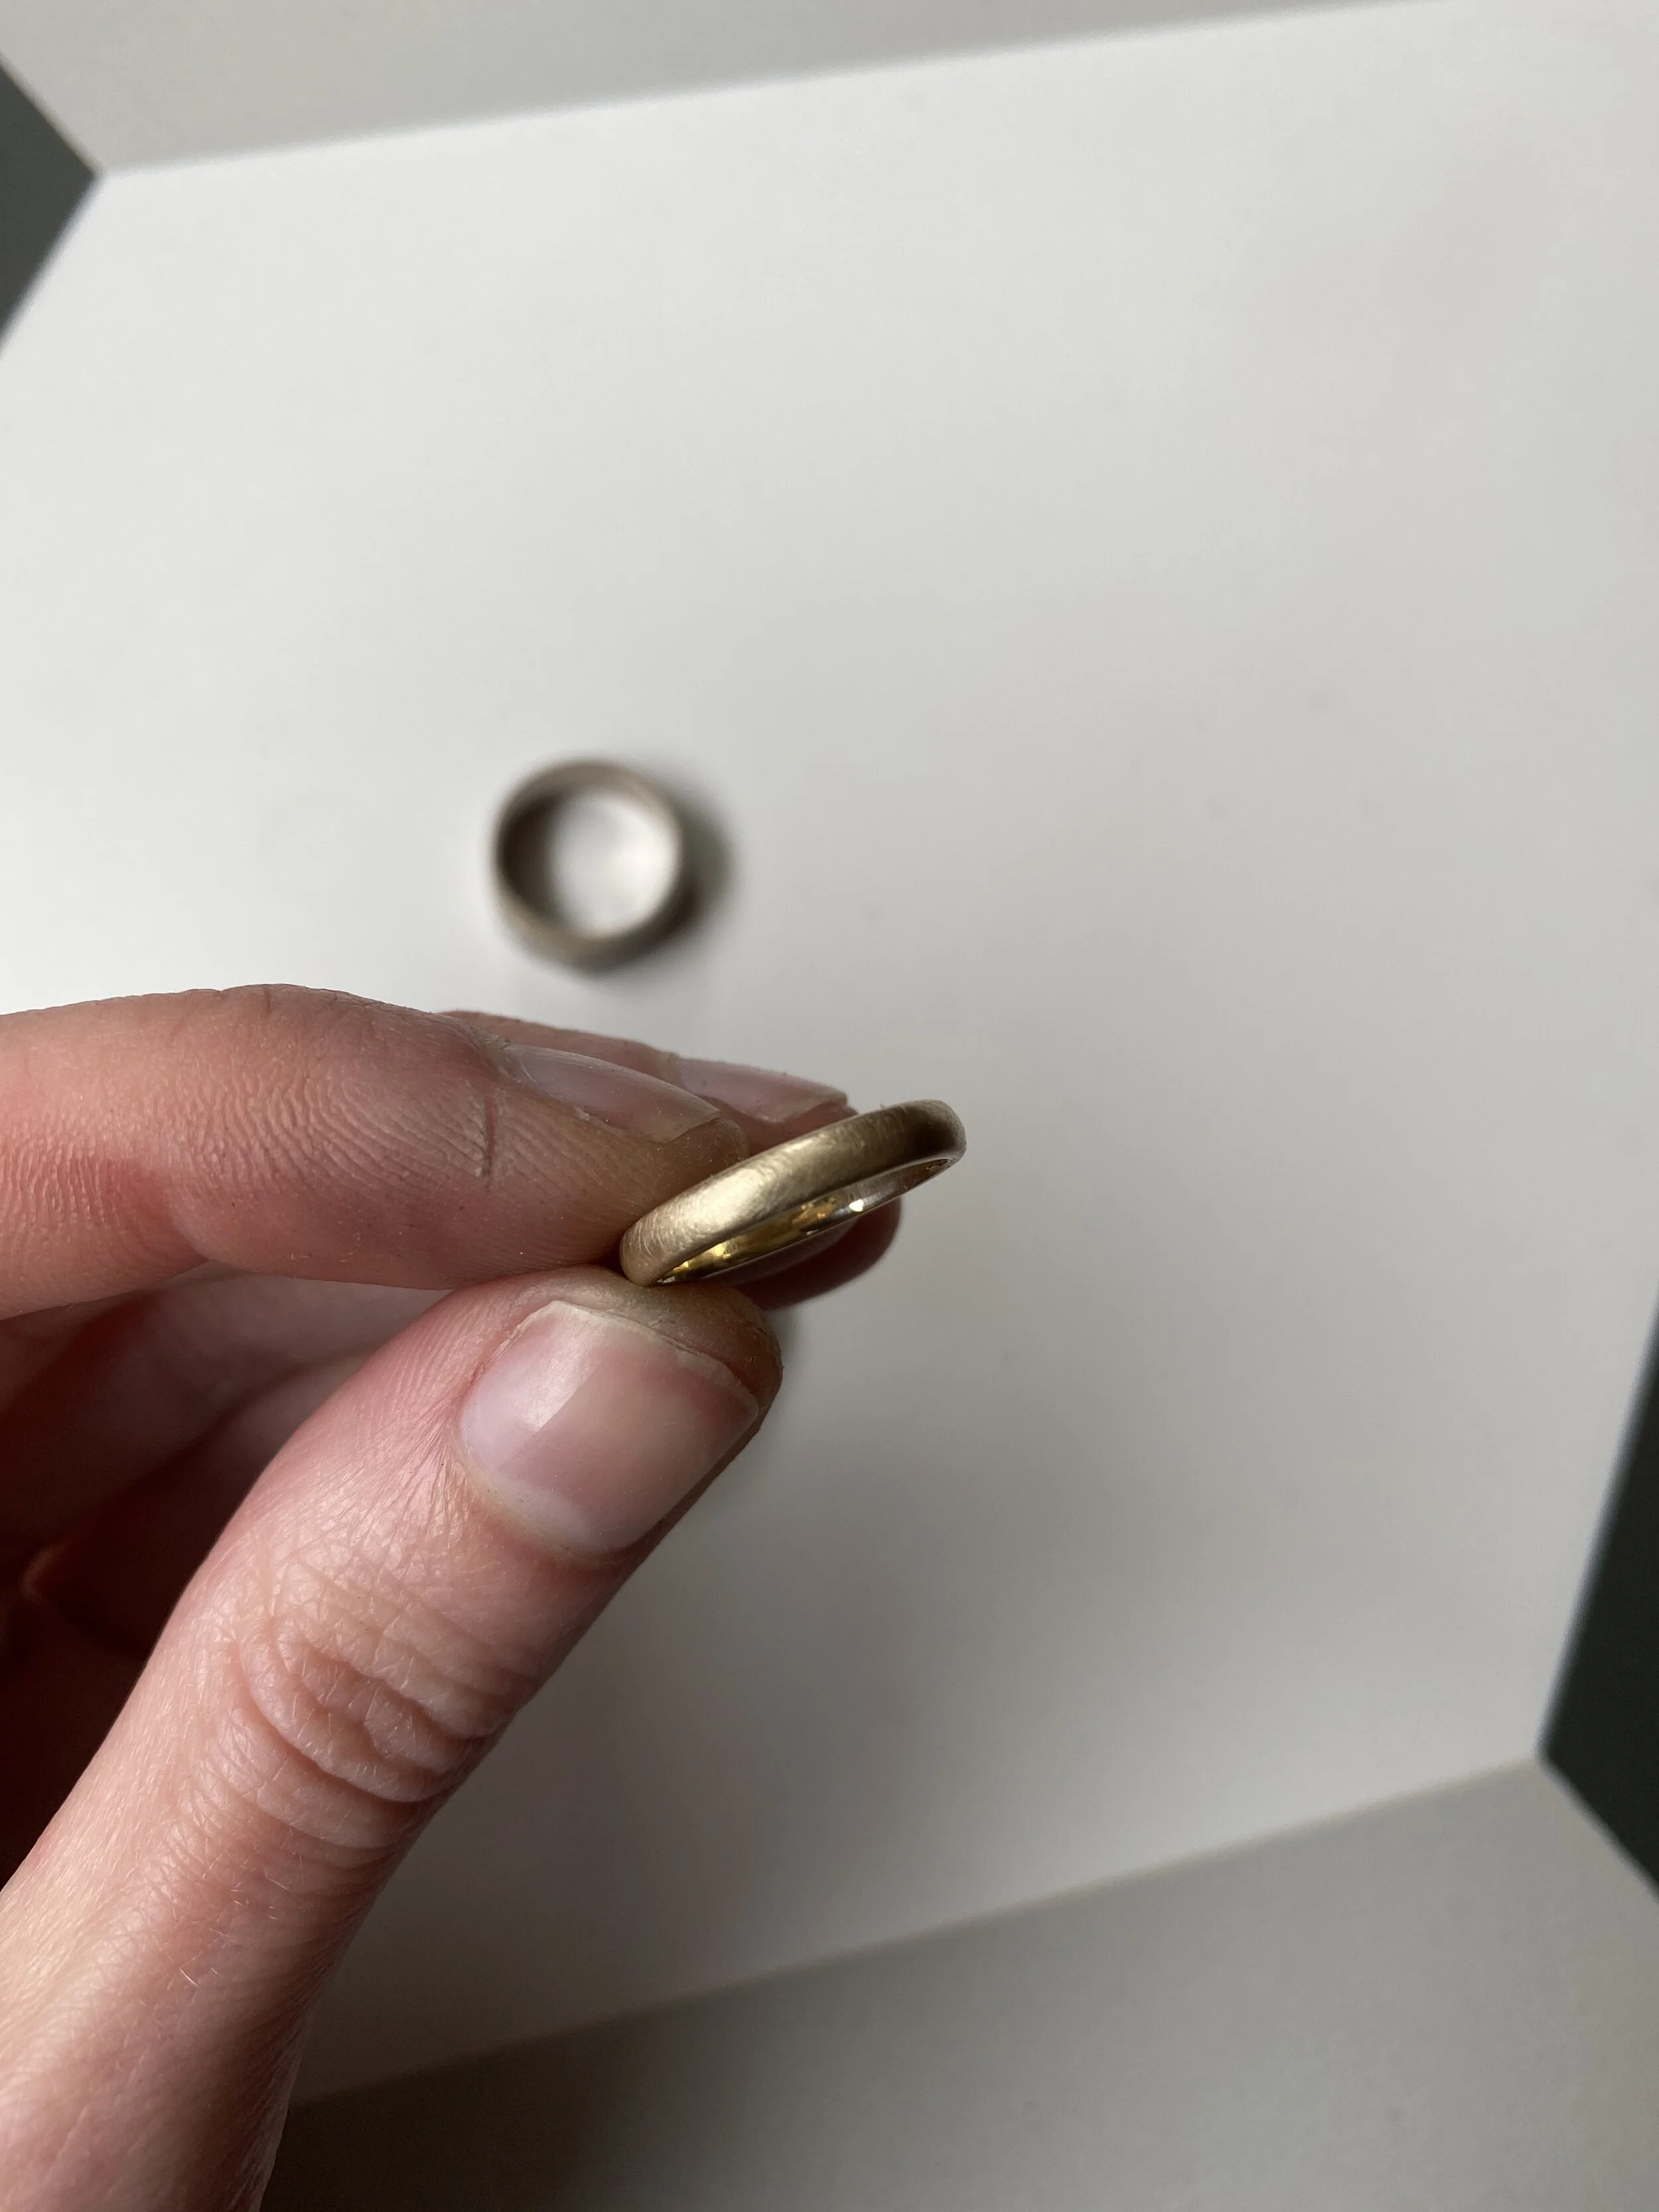
My wedding ring (the broad one) after doing the brushed finish - alongside my husband’s ring which hasn’t been done. Note that these rings are already scratched and very worn from everyday wear!
DIY brushed/matte finish
June 18, 2020
I really love a brushed/matte finish on certain items of jewellery, and many of my silver and gold pieces have this. You will find over time that this finish polishes itself up with wear (this tends to happen mainly on rings). So I thought I’d share a simple way for you to refresh this effect yourself at home.
Before starting, please be aware that you cannot do this on any plated items - such as gold plated, gold vermeil or rhodium plated white gold - as it will scratch and remove the plating. But you can do it on solid silver and gold.
All you need is a new scouring pad (preferably Scotchbrite - the one I’m using is a classic one, but if you have a finer grade that’s also ideal as it creates a finer finish). Cut a small square off it and using it dry, gently rub your piece in small circular motions all over your ring until you’re happy with the finish. Please be careful of stones - if you have a diamond in your ring it will not affect it, but avoid contact with softer stones.
Once you’ve finished, you can wash your piece with some soap and warm water and you’re done!

Before and after: the gold ring on the left is polished, the image on the left shows the same ring after using the Scotchbrite.

My wedding ring (18ct white gold) after doing the brushed/matte finish.